3. Creating a Scene
Factory I/O includes a large selection of parts inspired by the most common industrial equipment. You create a virtual factory by placing and arranging these parts together. By following the next steps, you will learn how to create a simple sorting system.
-
Click on File and choose New (Ctrl+N) to create an empty scene.
-
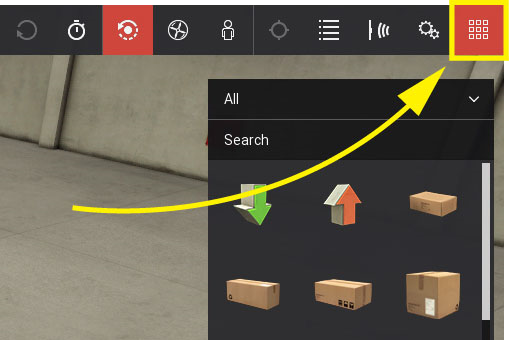
On the Toolbar, select the Orbit camera - you should use the Orbit camera when editing. If the Palette is not visible click on the Palette icon.
-
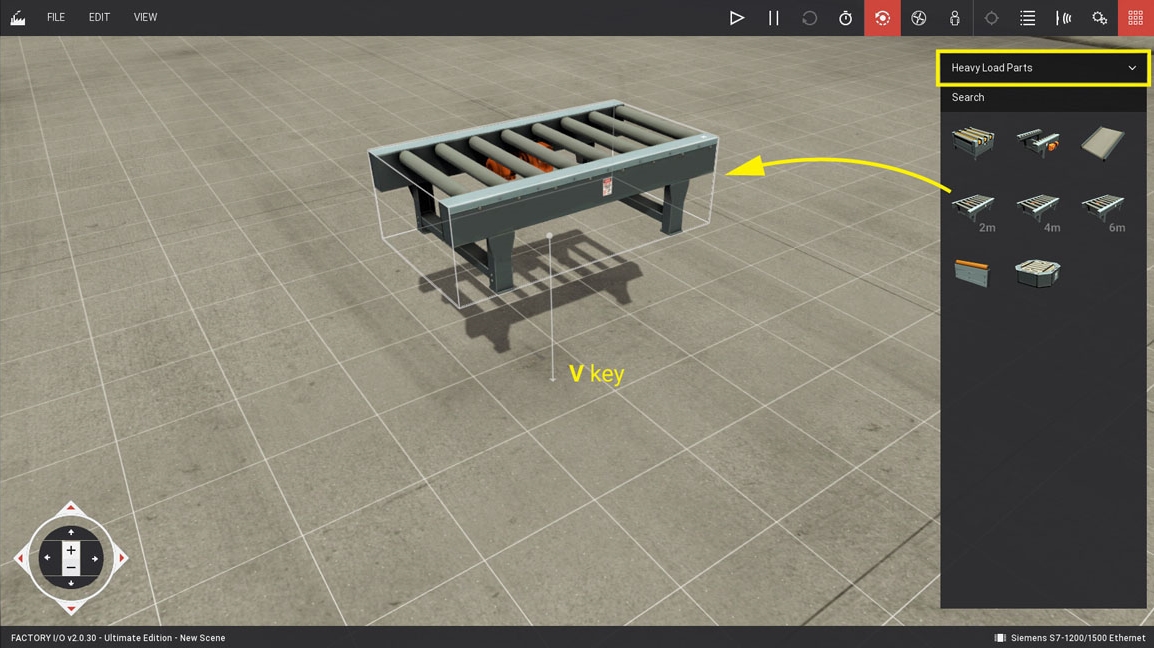
Choose Heavy Load Parts category from the Palette and Left-click and Drag a Roller Conveyor (2m) into the scene. When a new part is created it automatically becomes selected, indicated by a white bounding box. When you drag a selected part it will move on the horizontal plane. To move it vertically press the V key and drag.
-
Set the camera point of interest on the edge of the conveyor by Double Left-clicking on it. Next, zoom in with the Mouse Wheel to get a closer view. Most parts will be created at the height of the point of interest, except those which are typically placed on the floor, such as conveyors, racks, stairs, etc.
-
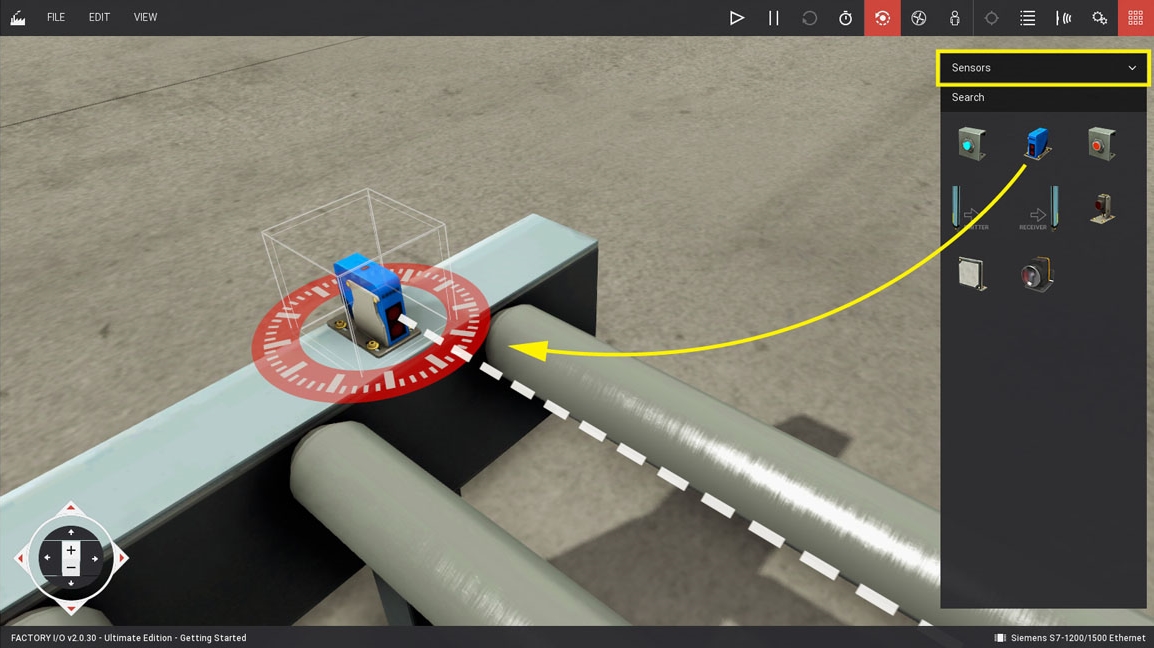
On the Palette, select the Sensors category and Left-click and Drag a diffuse sensor. While holding the Left Button down, place the sensor at the edge of the conveyor.
-
Right-click on the diffuse sensor and select Duplicate (Left Alt) from the context menu. Next, move the duplicated sensor to the other end of the conveyor.
-
Select all parts with the Rectangle Selection Tool by Left-clicking on the scene background and drawing a rectangle intersecting all parts to be included in the selection.
-
You can group parts together, which will allow you to easily select, move, rotate and duplicate them at once. Right-click on top of the selection and choose Group (Ctrl+G). At any moment, you can ungroup by Right-clicking on a group and selecting Ungroup (Ctrl+G). You can select a part within a group by holding the Ctrl key and Left-clicking.
-
With the previous group selected, Right-click on any part and chose Duplicate (Left Alt). Move the newly created group to a valid position and repeat the process, so you end up with three groups of conveyors and sensors. When a red box surrounds groups or parts, it means they are intersecting other parts and will be destroyed when switching from Edit to Run Mode.
-
Select All from the Palette category list, drag a Turntable into the scene and place it in front of one of the conveyors. To properly place the other two conveyors at each side of the Turntable, you have to Rotate them first. Right-click on a conveyor and click the Yaw + or - button (Y) to rotate it. Most parts only allow rotations of 90º; sensors can rotate freely around the local up axis.

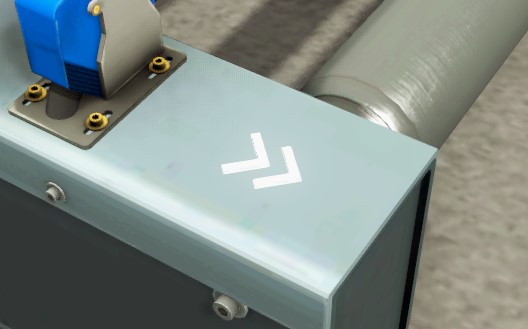
Note that conveyors, like most other parts, have a white arrow indicating the flow direction.
-
Finally, select the Items category and place a pallet on top of the first conveyor.
-
Now that your work is done, click on File and Save (Ctrl+S), give it a name (and optionally a description) and click on Save.