Setting up LOGO!
Requirements
- Siemens Edition or Ultimate Edition
- Siemens LOGO! PLC (0BA7/0BA8 and LOGO! 8.1-8.4)
- LOGO!Soft Comfort
Sample Project
This tutorial gives you step-by-step instructions on how to use a Siemens LOGO! PLC to control Factory I/O.
Setting up communication between PC and PLC
-
Connect the PLC to the network.
-
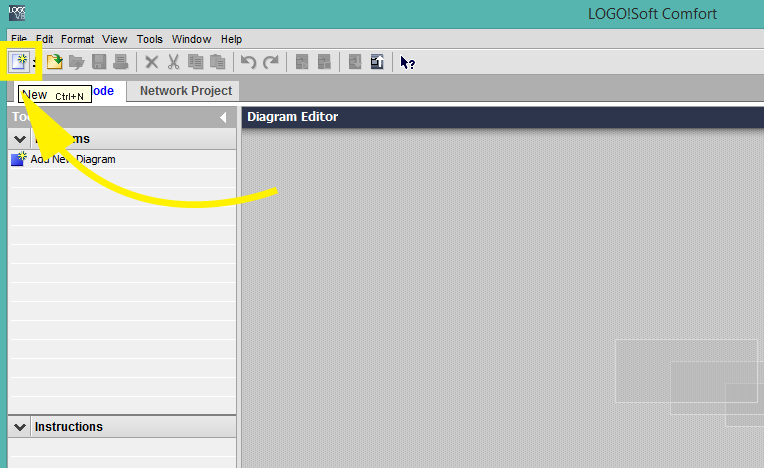
Create a new diagram in LOGO!Soft Comfort.
-
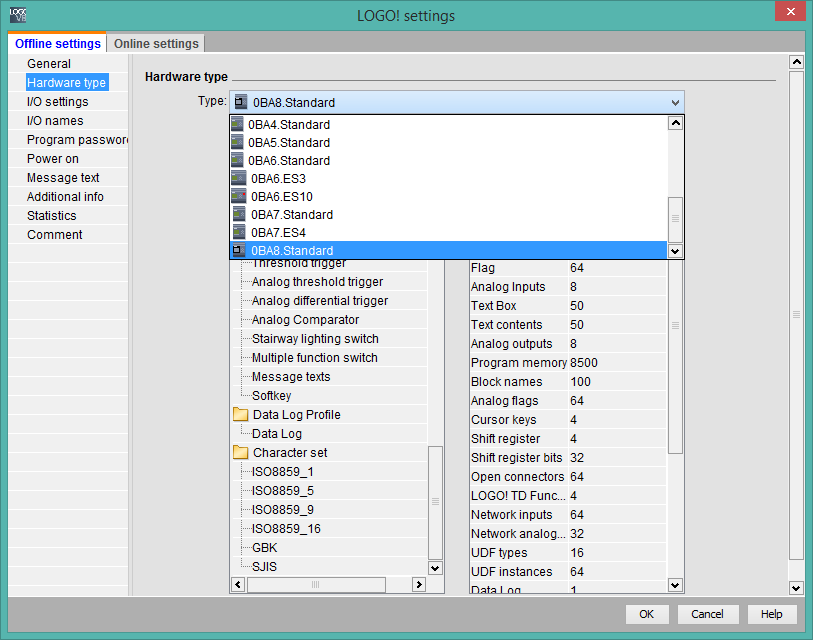
In the LOGO! settings dialog change the Hardware type to match your PLC. Note that only 0BA7, 0BA8 and LOGO! 8.1-8.4 are supported.
-
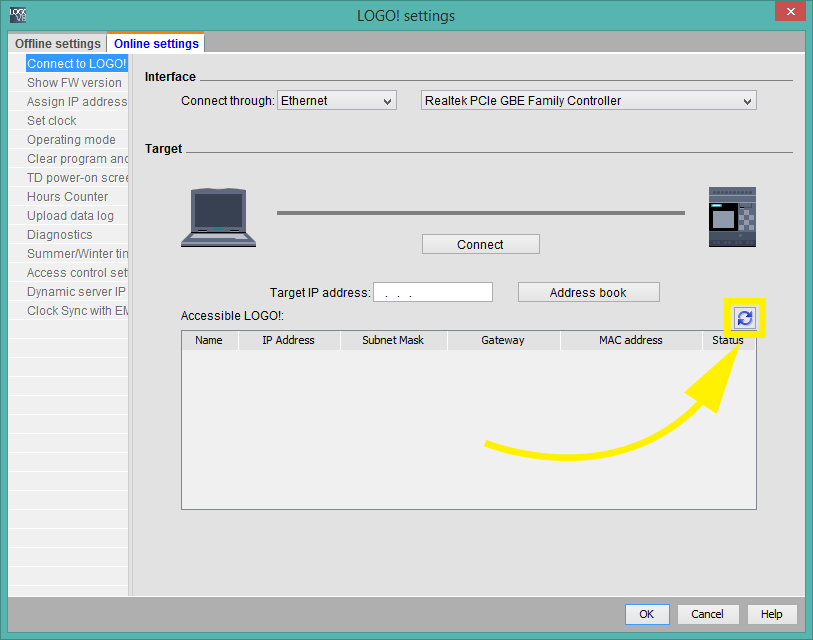
Now move to the Online settings tab. Press the refresh button to get a list of accessible LOGO! devices.
-
Select the desired device and press Connect.
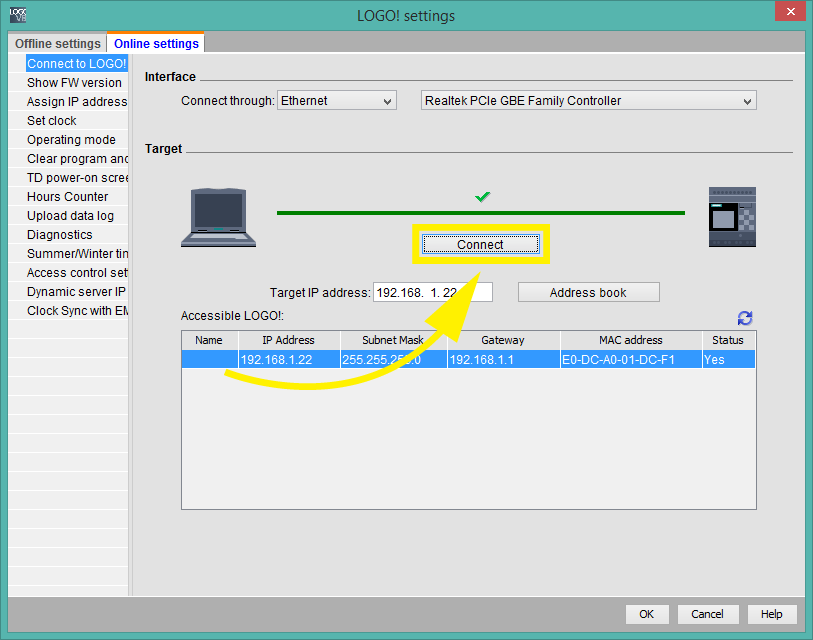
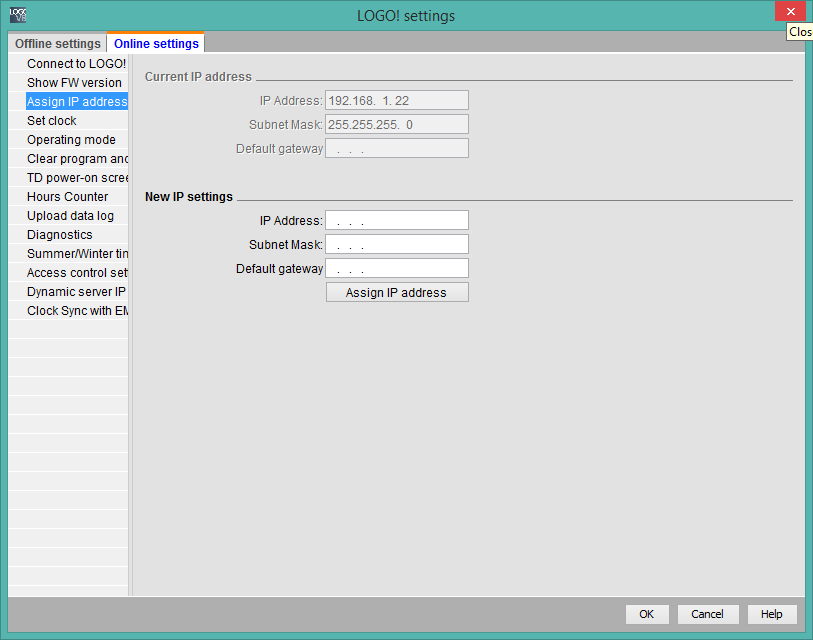
-
You can now assign a different IP address to the PLC if necessary. Press OK to exit the settings.
-
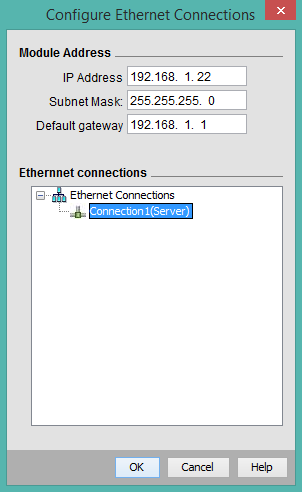
Open the Ethernet connections configuration. It can be found under the Tools menu.
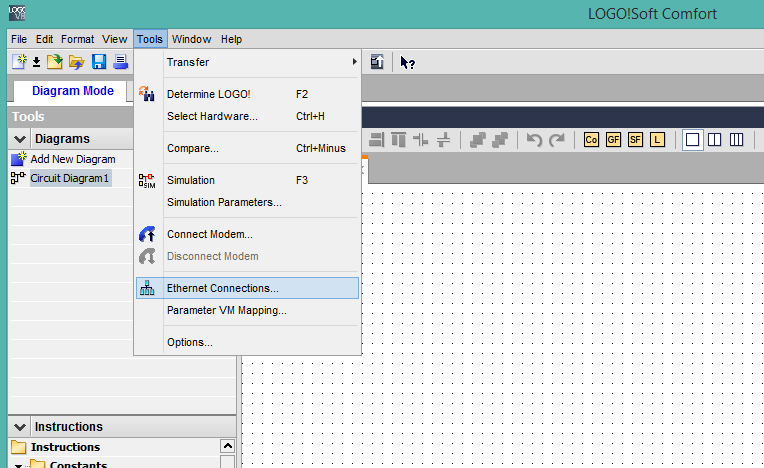
-
Fill in the IP Address, Subnet, and Gateway fields. Right-click on Ethernet Connections and press Add server connection.
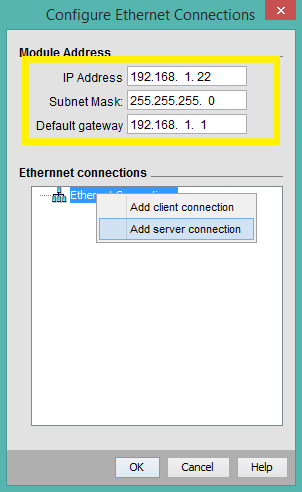
-
Double-click on the newly created connection.
-
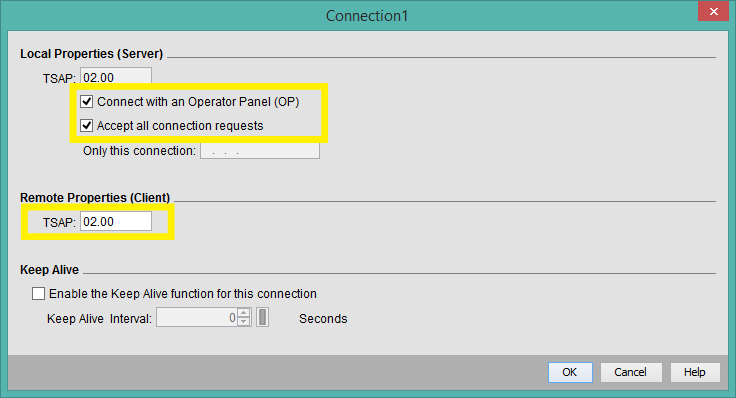
Edit the connection as shown in the figure: Check both Connect with an Operator Panel and Accept all connection requests. Set the Remote Properties TSAP value to 02.00.
-
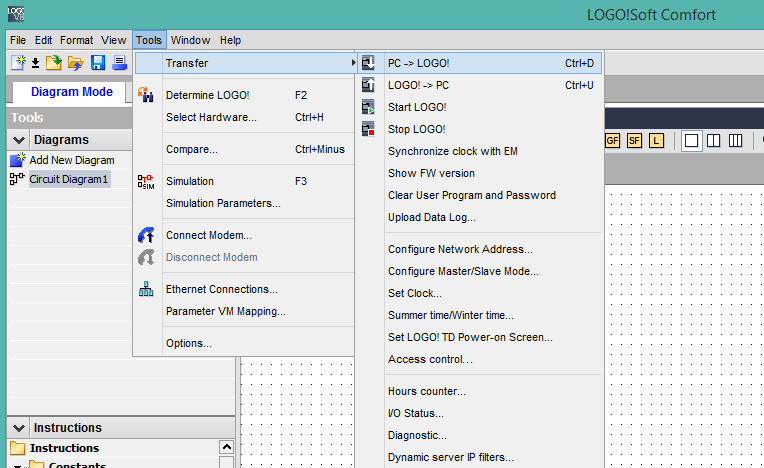
Finally, transfer the new configuration to the PLC. Select Tools > Transfer > PC -> LOGO!.
Connecting Factory I/O to the PLC
-
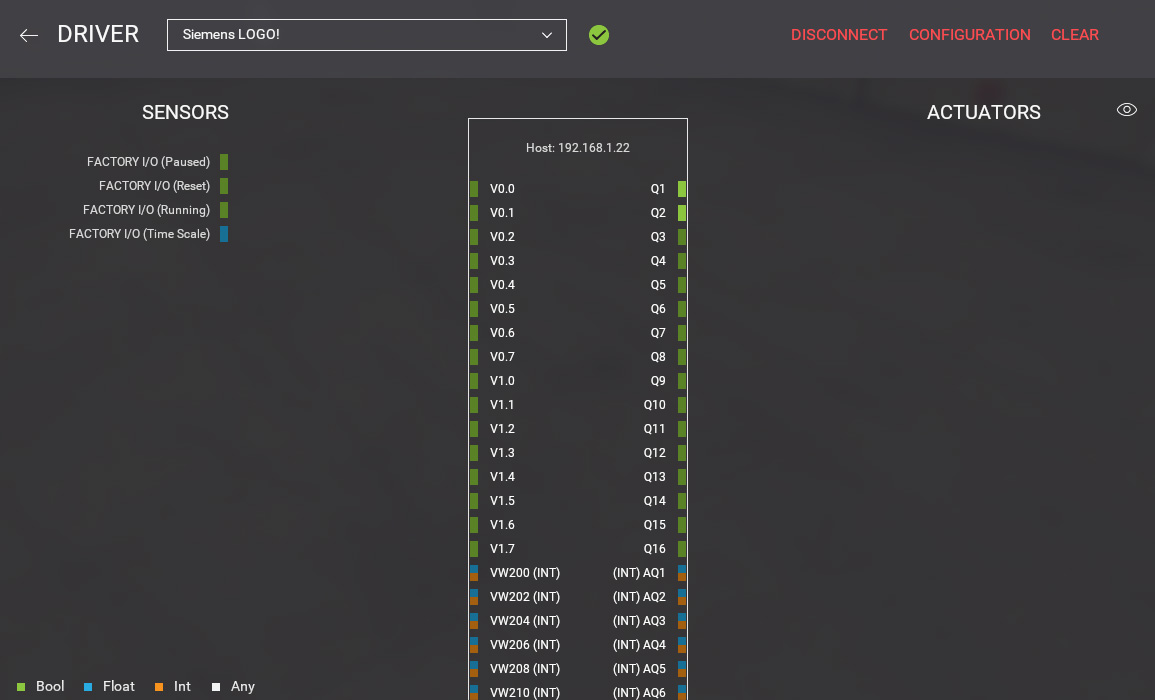
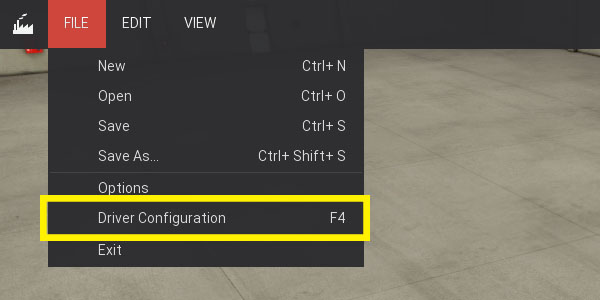
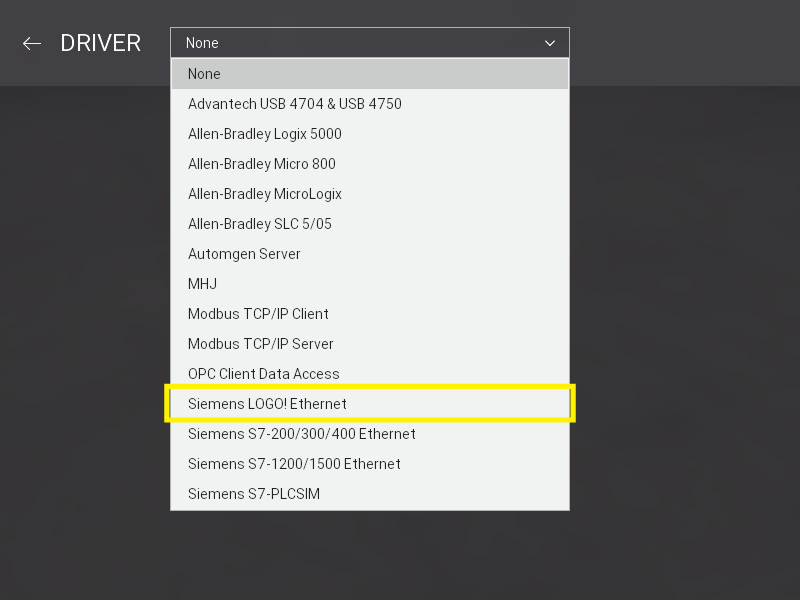
In Factory I/O click on FILE > Driver Configuration to open the Driver Window.
-
Select Siemens LOGO! on the driver drop-down list.
-
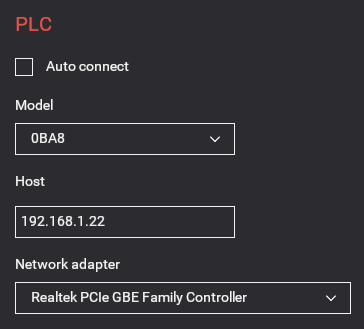
Open the driver Configuration Panel by clicking on CONFIGURATION.
-
Insert the PLC's IP address into the Host field.
-
Press Esc to return to the main driver window. Now click on CONNECT to connect to the PLC. A successful connection is indicated by a green icon next to the selected driver, as well as next to the driver's name displayed on the status bar.